
I wanted to wish everyone the best through this terrible pandemic and economic crisis that is affecting us all in ways we did not foresee but should have only months ago. Stay strong, keep safe, keep dreaming, we shall somehow pass through this. Never a better time to be at sea.
Kaj
Monday, April 13, 2020
Monday, September 16, 2019
3D Video and some summer photos
This past July we did a 3D interactive video of the interior and deck of Astrid. The link can be found at the broker webpage:
Custom Yacht sales
The price has also been adjusted to $375,000CAD which is about $290, 000 USD at current exchange rate. You just need to add sails.
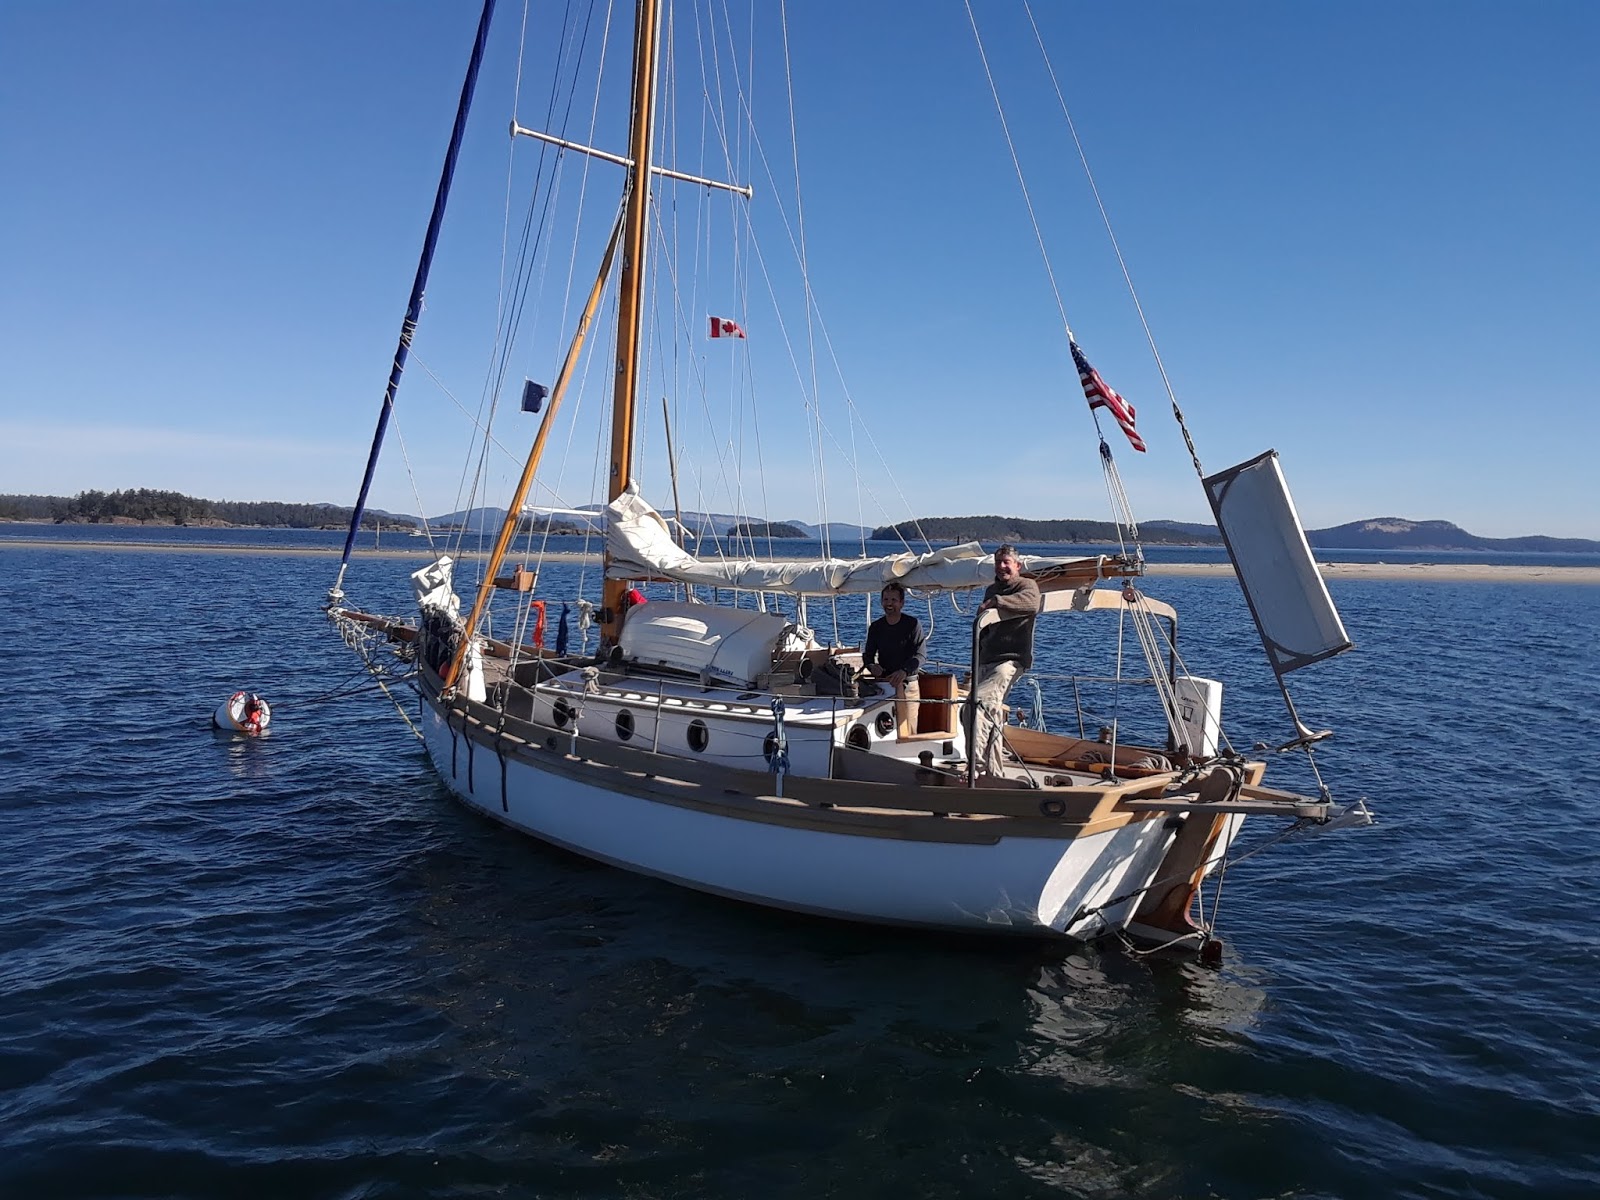
I did my summer varnishing at the anchor this year instead of at the dock. I little more work but way more pleasant. The work is easy to keep up as I use a lot of covers. Life has left me with little time for the boat right now, two young boys under two years old, living and work, I spend my "spare time" making sure Astrid is looked after with little left to actually use. I get asked so much about how it feels to sell her and that is a difficult question. One I am reluctant to actually answer but of course, it is not easy with mixed feelings. I first saw a 28ft Bristol Channel Cutter when I was 19 years old and right away it appealed to me as the perfect boat. I just loved it and in the following years I toted around a couple of dog eared Wooden Boat magazines, one that featured Lyle Hess and also an issue that featured the 30 ft Lyle Hess "Tenacity". I grew up with Wooden boat magazines as my Dad had bought them since day one and now I have them. I read all the Pardy books of course as well as the Hiscock's. Rebuilt my Stone Horse cutter always wanting it to be a Hess design! So it took until my mid-30's before I stared building Astrid and I dedicated almost a decade of time to building her, obsessing over every detail of construction. She turned out to be everything I hoped for and when I am aboard I seriously could just stay there, happy to be aboard and content to look after her and be in the beautiful BC coastal environment. But one thing I have learned in life is it is impossible to predict what will happen next. I plan for one thing and another happens and it is usually all good or will turn out that way in the end. Things just change and the quest for a simple life continues. There are new adventures, new projects, smaller boats, skiing, hiking and canoeing, things to discover and teach my two young boys. In the end I just can't afford to keep Astrid unless it alone is the way of life and that is a different life which is not right for our family right now. I feel good that I was able to achieve what I did, was able to finish her and even have a short while with her. So she waits for the right owner who can take her on the adventures she was built for.
Here are a few pictures of this summer.


Custom Yacht sales
The price has also been adjusted to $375,000CAD which is about $290, 000 USD at current exchange rate. You just need to add sails.
I did my summer varnishing at the anchor this year instead of at the dock. I little more work but way more pleasant. The work is easy to keep up as I use a lot of covers. Life has left me with little time for the boat right now, two young boys under two years old, living and work, I spend my "spare time" making sure Astrid is looked after with little left to actually use. I get asked so much about how it feels to sell her and that is a difficult question. One I am reluctant to actually answer but of course, it is not easy with mixed feelings. I first saw a 28ft Bristol Channel Cutter when I was 19 years old and right away it appealed to me as the perfect boat. I just loved it and in the following years I toted around a couple of dog eared Wooden Boat magazines, one that featured Lyle Hess and also an issue that featured the 30 ft Lyle Hess "Tenacity". I grew up with Wooden boat magazines as my Dad had bought them since day one and now I have them. I read all the Pardy books of course as well as the Hiscock's. Rebuilt my Stone Horse cutter always wanting it to be a Hess design! So it took until my mid-30's before I stared building Astrid and I dedicated almost a decade of time to building her, obsessing over every detail of construction. She turned out to be everything I hoped for and when I am aboard I seriously could just stay there, happy to be aboard and content to look after her and be in the beautiful BC coastal environment. But one thing I have learned in life is it is impossible to predict what will happen next. I plan for one thing and another happens and it is usually all good or will turn out that way in the end. Things just change and the quest for a simple life continues. There are new adventures, new projects, smaller boats, skiing, hiking and canoeing, things to discover and teach my two young boys. In the end I just can't afford to keep Astrid unless it alone is the way of life and that is a different life which is not right for our family right now. I feel good that I was able to achieve what I did, was able to finish her and even have a short while with her. So she waits for the right owner who can take her on the adventures she was built for.
Here are a few pictures of this summer.


Saturday, April 13, 2019
A few winter photos


It looks like summer in the pictures but it was close to freezing and had to break through thin ice getting out of the marina.


Cold days are cozy with the heater and hot tea.

The attentive reader will notice the scrub brush on the cabin roof above and wonder if I use it on the deck which is of course no! It is for the anchor and the deck gets a gentle clean with a 3m red scrub pad in a circular motion with salt water and a little bit of dish soap a couple of times a year.


A good no nonsense product in a day where there is a lot of nonsense, is worth giving a mention. The heavy Carhartt rain jacket with neoprene inner cuffs is pretty darn good for West Coast weather and a fraction of the cost of anything "marine". Hood could be a bit better but there it is.

Sewed a sunbrella cover for the varnished bulwark cap. Tricky to find a way to secure it but could use chainplates and other places and a few discrete brass pad eyes located on the inner bulwark and outboard under the rub rail.

Saturday, September 29, 2018
September photos
Some photos of a two week trip in the Gulf Islands late September.


Mt Baker in the back ground.


A grey windy day and somewhat exposed anchorage but no problems

looking up Fulford Harbour, Saltspring Island from Russel Island

Oil anchor lamp burns all night

When at anchor or mooring a snubber line from a block at the cranze iron keeps the mooring can away from the bobstay


The initial run issues with the Buhk engine injection pump have been sorted and there were no issues with the engine.

September is great, few boats out, cooler but wonderful weather, just a great time to explore home waters which can be busy during summer.

Met up with SV Moon Raven, another 34ft Falmouth Cutter. the owner and Bryan from Channel Cutter yachts were just starting their voyage to Hawaii. It was great fun to see them and have both boats together. Unfortunately my lousy phone camera did not capture a good imagine of the two boats together,

Crocker designed SV Macaw at the same anchorage and we all had a wonderful visit and time.

Added the thimbles at the fwd lower shroud for the lifeline. A nice little job to do at anchor.

Made the boarding step for getting in and out of the dinghy. Bare red cedar with foam and canvas bumper bronze ring nailed around the edge

Thursday, September 13, 2018
Bowsprit Net
Made the bowsprit net and bowsprit cover. The cover is the usual Sunbrella canvas and leather. It just covers the varnished portion and has a "cap" to go over the end of the bowsprit.
The bowsprit net is 7/16" New England Rope 3 strand vintage Dacron as is the life lines, canvas lines and other lines other than sheets and halyards which are plain white 1/2" New England three strand Dacron. I lashed the net with No. 21 tarred seine twine. It is a smaller diameter and good for these small lashings. The fore and aft lines are spliced to Port Townsend Foundry pad eyes at the bulwark.

Cover and net complete.

That chain bobstay is temporary as I wait to get the spliced one.

Fore and aft lines are seized around a bronze thimble.

Pad eyes at the bulwark.

Bowsprit cover is in two pieces and tied together. Will save a bit of work in maintenance.

Subscribe to:
Posts (Atom)
