Sunday, August 19, 2018

Mast Part III

Mid Month July. I have a pile of hardware, most of the pieces I need, but basically it all has to come together. Easier said than done but I have help now with my good friend John who has flown out here to help. First haul out. Astrid needs to have a fresh coat of bottom paint, will varnish the transom and take care of lower rigging details. It's a quick round trip.


Fresh bottom paint


Double jaw toggle for bobstay. 3/4" pin. 


Transom with a fresh coat of varnish. 


The splicing thimbles needed drilling. 5/8" pin. Made a simple clamping jig for the drill press. De-burr with a countersink bit. 


The internal track needed drilling and countersinking. Drilled for a #10 screw every 4".


John started splicing the lower rigging, 'sprit shrouds and boomkin stays while work continued getting the hardware ready on the mast. Splices look awesome. 


Chopping the bowsprit mortise in the purple heart samson post. The bowsprit tenon and the mortise got a number of coats of creosote and thinned varnish. 


Bowsprit and anchor roller installed. 


The chain bobstay is temporary until a 1/2" 7x7 spliced wire one replaces it. 


The boomkin stays are installed. The first rigging is on the boat !


Deck light and upper turning block for spinnaker pole track


Upper spreader bases. A combination of tang work and castings. Steaming light above.


Through bolts are 5/8" Nickle Aluminum Bronze with wide base nuts from Port Townsend Foundry


Lower spreader bases and shroud tangs


The mast head is installed with delrin sheave in a silicon bronze sheave box. 


By now John has spliced all the upper end of the wires and the next task is to collect the mast from Brentwood Bay and bring it up to Sidney to step it. 


Saturday, August 18, 2018

Mast Hardware Part II

The first half of July was full time 'round the clock work finishing the mast hardware, fitting hardware, shaping and sanding the boom, varnishing everything and making sure the myriad of details and pieces where all coming together.

An obstacle in making this happen had been the turnbuckles. I needed 14 x 5/8" Turnbuckles and new they would have been prohibitively expensive. It took three quarters of a year but I managed to find Merriman turnbuckles and toggles in good used or new-old-stock condition through trading, EBay and a used Marine Chandlery  in California. They ended costing a quarter of the new cost. I machined new clevis pins for all the connections.

Again, once I looked up the price for a 5/8" clevis pin and multiplied it by the number I needed (a lot!)  I had no choice but get some 316 stainless rod and make them on the metal lathe. I used aluminum- nickle-bronze clevis pins at the waterline for the boomkin stay and bobstay  toggles.


A big pile of bronze hardware. There are a ton of details and all the pieces have to come together. 


The goose neck assembly almost all together.


You might be able to see the black delrin bushings I machined between the pivoting points of the goose neck assembly.


The outhaul. A lot of machining here and some grateful help from my friend Barry who volunteered to machine the track. It turned out really well, .... perhaps perfect.


Fitting the anchor roller to the bowsprit. The roller assembly clamps around the bowsprit so there are no bolts drilled through the sprit. The axle for the rollers passes underneath the sprit. This also acts as the tang for the forestay.


The upper spreader tangs are fitted and ready for TIG welding together. The mast head got multiple coats of creosote and thinned varnish before final installation


Mast head welded and ready for installation


Shaping the spreaders out of Douglas Fir


Spreader tips in solid bronze through bolted with 10-24 machine screws tapped into a bottom plate.


 The Mast at Abernethy and Gaudin Boat Builders. The next weeks were a marathon of fitting the hardware and getting varnish on it.


The boom had been made last summer but was still rough shaped. It had to be sanded down, black locust risers glued on for the reefing cheek blocks, track riser glued on and ends fitted to the goose neck straps and boom end casting.

 I had to get the mast track, 7x7 316 stainless wire, fasteners and thimbles and other pieces from Port Townsend Foundry. The brass Davey 1" internal track came from R&W Rope. Sourcing the 7x7 wire was a worry but Myles Thurlow (Rigging) out of Vineyard Haven, MA  pulled through and 550 ft of 3/8" 7x7 wire was shipped to P.T on time. I had priced out other options including Sta-Lok but the wire and thimbles for spliced rigging was half the price and has other advantages including looking really good on a traditional boat. Pete Langley at Port Townsend Foundry really pulled through with some last minute work which I am very grateful for. Mid July I drove over with the Black Ball Ferry from Victoria to Port Angeles to bring it all back. Just in time for my friend John Stone to arrive who was to help me for the next three weeks getting the mast on the boat and rigged.

Mast Hardware Part I

This has been a busy year to say the least. Working full time, had a large side job to do on another Falmouth Cutter 34 and a new born boy as of end of January. I finished the FC34 side job end of May and started on mast hardware early June. I had patterned it during the winter and had it cast locally. Once I collected the rough castings I had the remaining part of June to make use of the metal shop at the High School where I taught woodshop this year to do all the machining. So late days working after hours trying to get it all done by end of term not to mention the usual work wrapping up a school year, taking care of the shop, ordering, marking, cleaning up etc.


Some of the casting patterns


A pile of rough Everdur silicone bronze castings from Achinback Foundry


I used flapper discs from 40 grit to fine surface prep discs to finish the castings. The fine surface prep disc's left the castings so smooth that only a bit of buffing was required and I did not bother on some.


 Facing and drilling eye bolts


Milling the outhaul car


Drilling the mast bands for the goose neck. Beautiful old Swedish geared drill press.


A lot of threading. A good tap and die set is essential. The ones you find in the hardware stores are a very bad joke. I have two old sets of of Greenfield "Little Gaint" Tap and Dies from 1/4" to 1". I highly recommend them.  The cutters are adjustable and they have a built in guide so they cut straight down the rod. Here on the mast I wanted to thread a certain grip length and have no extra thread. Normally when your cutting threads there is a tapered entry and the nut will not go on all the way. By flipping the die holder and running the cutter back down the thread I could get a full cut right to my stopping point. 


Needed over 50x 316 stainless steel clevis pins. My friend Barry helped me and together we knocked them off in a morning but had I bought them they would ridiculously expensive. 


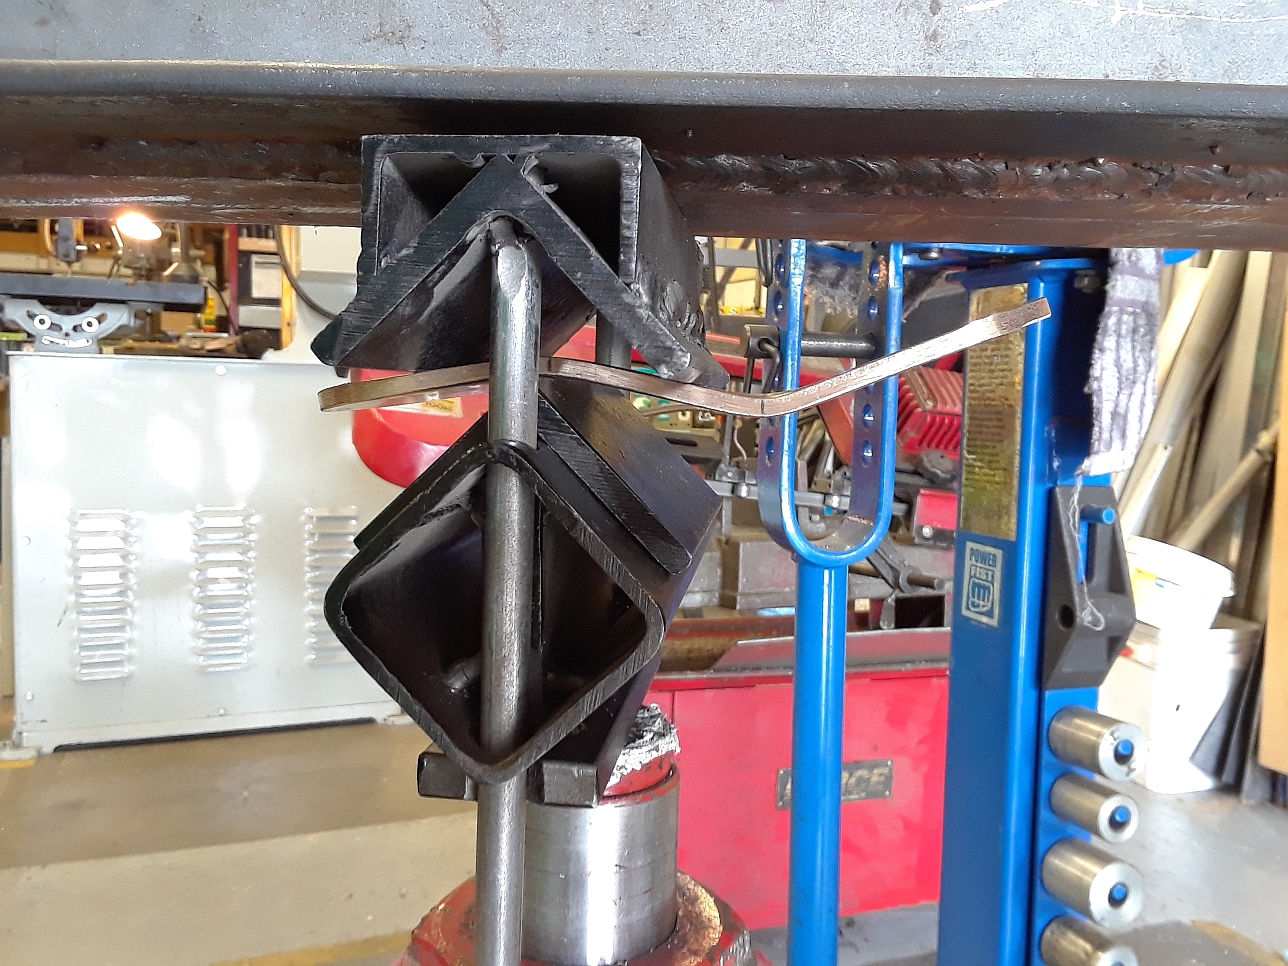
Bending the 3/16"  mast tangs in the press. 


Rivited the tangs together with 10-24 round head machine screws before drilling the pin holes. That way everything lines up. Cut the tangs out on the bandsaw and quick work with the disc and belt sander had them all made one evening. 


Tangs all drilled.


Saturday, September 16, 2017

Spars Part III The Mast

The main job to do this summer was to get the mast built which we did in the last two weeks of August and into early September. I had acquired the Sitka Spruce spar wood over ten years ago through Eden Saw Woods in Port Townsend. It came from Haida Gwaii and the lengths were between 30 and 40 plus feet. It was beautiful wood, clear and tight grained. I felt it had to be honoured.

The first job was to plane it to thickness before transporting to Abernethy and Gaudin Boat Builders in Brentwood Bay here on the Saanich Peninsula. I decided in order to keep within my time frame and due to the scale of the job and length of the wood I would need a hand to get this last big job done on the boat. When I approached Jean Gaudin about working with him to build it he was just putting the final touched on a box section spar about 47ft long. 

Abernethy and Gaudin Boat Builders work mainly with traditional boatwork in a real old time boat shop in Brentwood bay equipped with a marine railway. This summer they just finished a total rebuild of the English Pilot cutter Carlotta.

http://www.agboats.com/

This turned out to be a great way to get the job done. It was great to work with Jean and his experience meant the job went efficiently and accurately. 

It would be a hollow round mast built of four staves like a box. The aft  and forward stave would be full width. The spar is 53ft 2in long and 7 1/4" diameter.


Planning the mast wood before transporting it up to A&G. I had the space to pass the 40ft lengths through the planer


The first job was to lay out the boards and decide what boards would be used where. We just managed to get all four sides with only one scarf per side. Not bad for a 53ft spar ! Next we built and leveled up a spar bench. 

Once the scarfs were cut with a circular saw, hand planed and glued we could cut the staves to width. Then we could layout for hollowing. Jean had a great technique using the circular saw and a small blade where he made passes at an angle to hollow. Just like you do on a table saw but here your passing the saw over the wood not the other way around.  All we had to do was clean up with the hollowing plane and make the transitions with a gouge.


We built the mast with the aft stave down as that would be straight, the sides and fwd stave would be tapered. The aft stave basically became the spar bench once glued up.


Jean using the circular saw to cut the hollows. This saved a lot of time and work. Been hot and sunny but really nice to work outside.


The hollowing transitioned to square where the red cedar blocking goes at the spreaders. Here the sides are dry clamped to the aft stave for fitting blocking and checking the fit. The side staves were cut with the circular saw, one edge was trued up with a jointer plane and then we planed it to final width through the Makita portable planer taking multiple passes. We ended up with fair edges that only needed minor adjustments to get a perfect fit for gluing.


Gluing the two side staves to the aft stave. We used 115 clamps. We left the aft stave full width and sprung in the side staves to our marks for the taper. Once the glue had cured we trimmed off the excess of the aft stave sticking out. 


Now we tapered and faired the side staves above the upper spreaders, added the conduit, ran wired for lights and tin foil for radar reflector. A test fit of the fwd stave and we were ready for sealing and gluing.


Glued up and square. It looks very heavy right now. The gluing went very well, nice glue joints everywhere. We used System Three G2 Epoxy.


Eight sided and starting to get lighter and look more like a mast. This is fun work.


Sixteen sided above the deck.


Knocking the corners off the 16 sides to 32


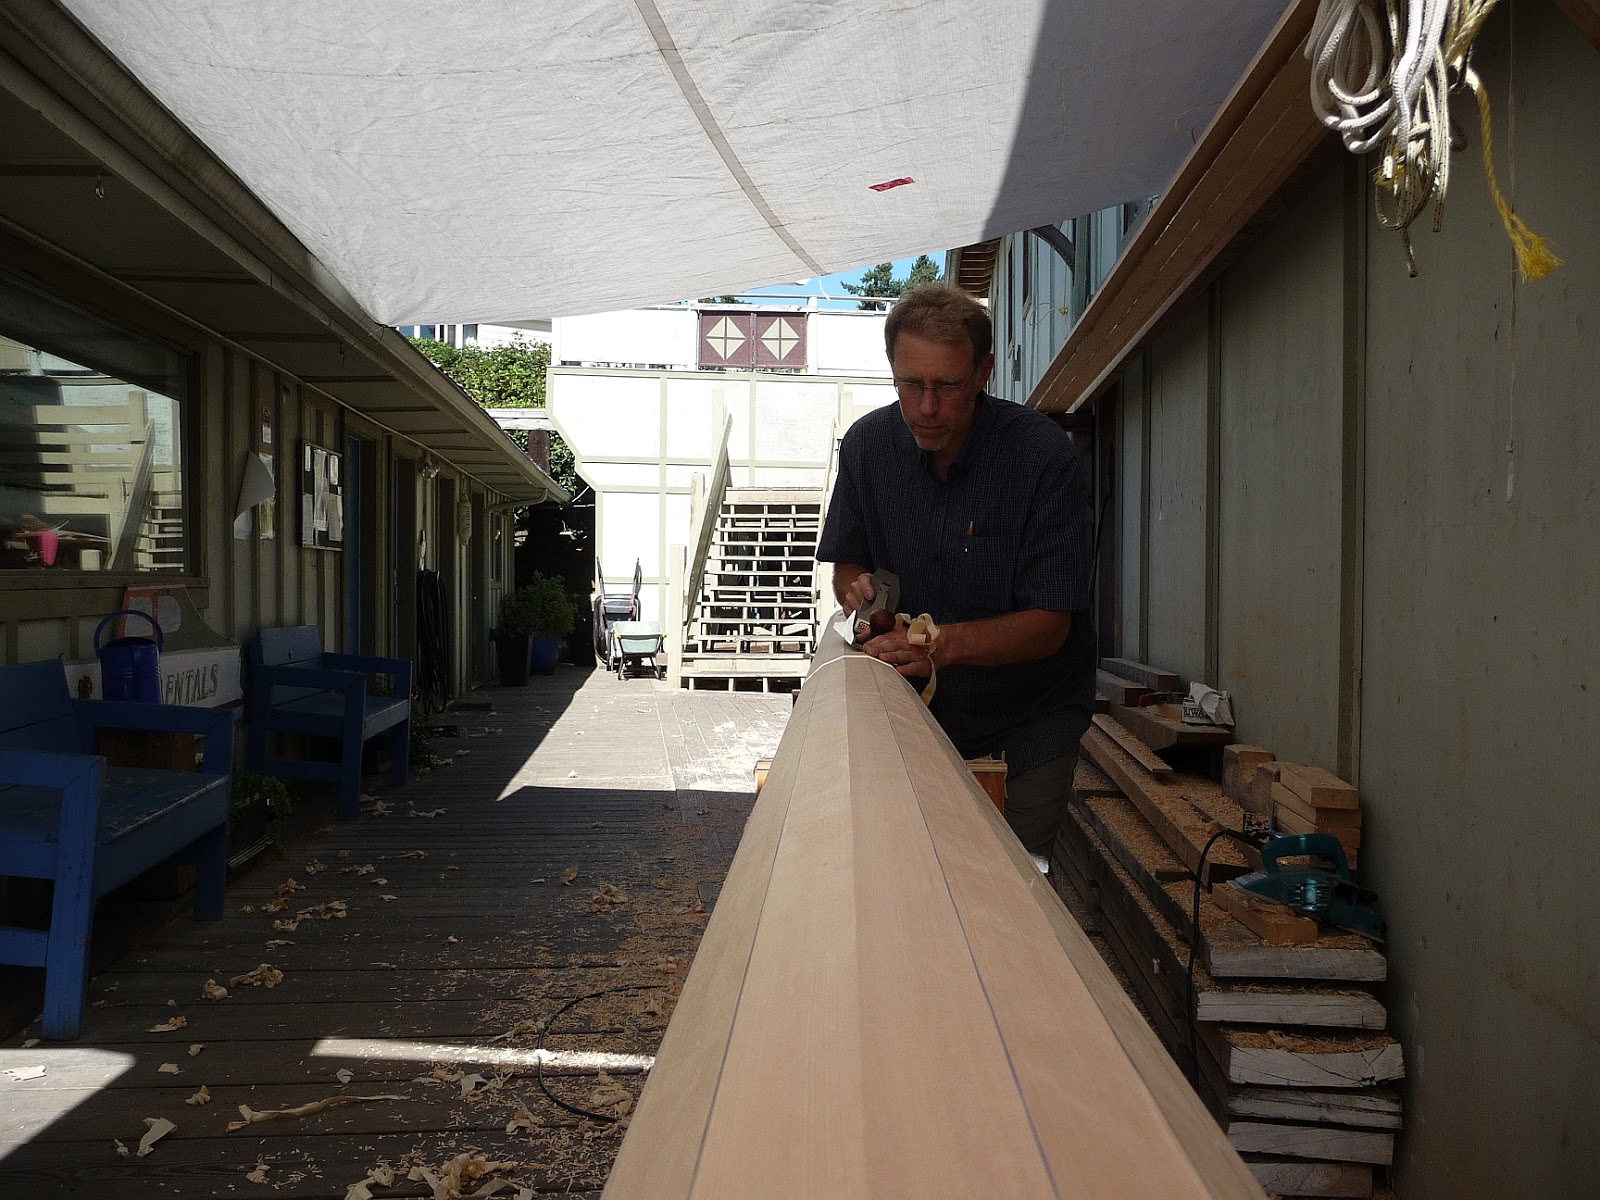
 Final rounding with the handplane. Next is to sand which Jean did the next day with a belt and drum attachment on the feather edger.


Sanded and silver bali track riser glued on, mast head built up and shaped and winch blocks glued on. First coat of varnish will be Epifanis varnish thinned over 50% with turpentine. Thanks to Jean and Robert  for helping me get this job done. It really feel great to see the spar built and my next big job is to start making all the bronze hardware which I will do over the winter. Hoping to rig in the spring.